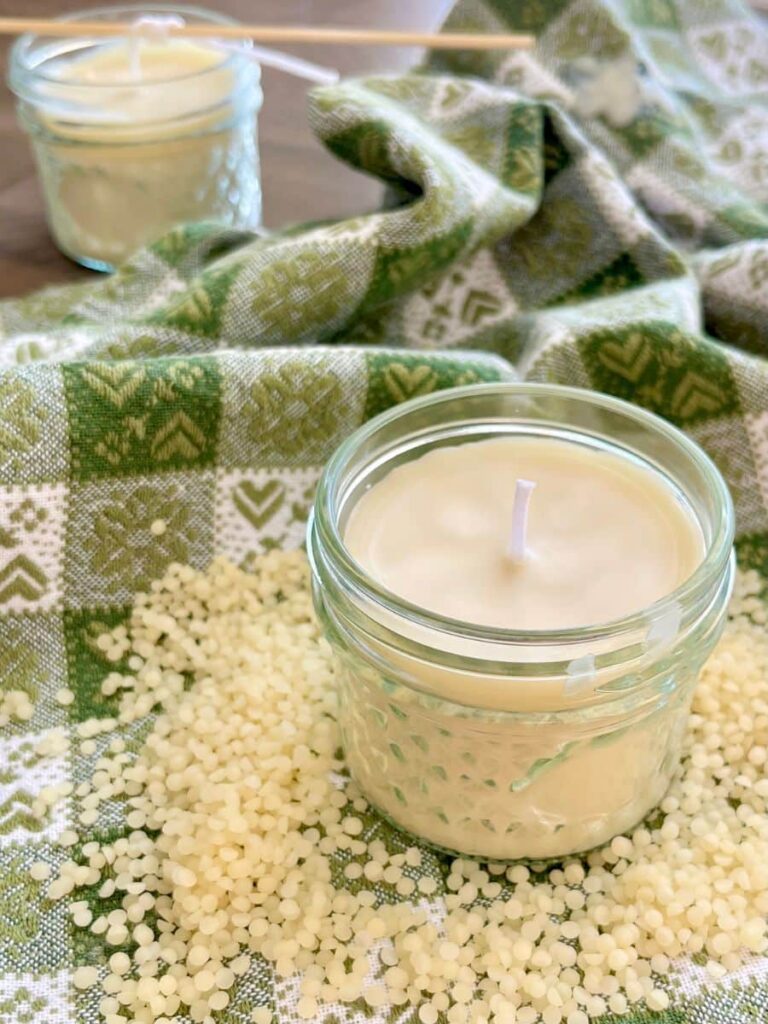
DIY lip balm recipe
This homemade lip balm is nourishing, natural, and totally customizable. You can make it super easily right at home. Try it yourself, and I promise you’ll hardly want to go back!

I started making my own lip balm sort of on a whim — curious, and wanting to avoid unclear ingredients listed on store-bought labels. Since then, I haven’t looked back!
Why choose a DIY lip balm?
Making your own lip balm comes with a lot of benefits. With just a few natural ingredients, you can whip up something effective, safe, and tailored to your own needs. Plus, this recipe is incredibly versatile: once you try it, it’s going to be hard to go back to commercial products.
Here’s why you’ll love this DIY approach:
- Natural, safe ingredients
Typical store lip balms often include petrolatum, silicones, or preservatives. In the short term, they might feel soothing, but over time, they can actually dry out your lips more, making you more dependent on them. With this recipe, you use only natural ingredients that truly nourish and protect your lips. - Totally customizable
There’s no one-size-fits-all formula. Want balm that’s extra nourishing? Add shea butter. Prefer something more solid for summer? Bump up the beeswax. Want a scent or a cooling effect? Play around with essential oils. - No waste
Making your own means less plastic and less unnecessary packaging. You can reuse small containers or get refillable balm tubes. Every time you finish a batch, just refill instead of tossing it. And since the balm is so versatile, you’ll find lots of other uses for it (more on that later). - Perfect for the whole family
Because you’re working with natural ingredients, you can make versions safe for everyone, from little kids to adults. Skip the essential oils for sensitive lips, or use different scents for different people. - Incredibly versatile
Beyond lips, this balm can be used to moisturize cuticles, soften dry patches of skin, define brows, or even act as a natural highlighter on cheekbones. Small product, big utility. - Long-term savings
A good natural balm from the store can cost quite a bit, but with just a few ingredients, you can make multiple batches, spending way less for something just as effective. It surprised me how little I needed to invest at first, and how many things I could then make with those raw materials. Plus, I always end up giving some away as gifts!
Ingredient benefits

Let me break down what each ingredient does, and why it’s so great for lip care.
- Beeswax
It’s essential in this recipe because it creates a protective barrier on your lips to lock in moisture and prevent drying. It’s also soothing and gives the balm its solid, easy-to-apply texture. - Coconut Oil
If you’ve spent any time in the DIY world, you know coconut oil is everywhere, for a reason. It’s incredibly moisturizing thanks to its fatty acids, and it has natural antibacterial properties. It helps keep lips soft, healthy, and makes the balm creamy and easy to spread. (Fun fact: just beeswax + coconut oil already makes a great balm. You know I like to keep things minimal!) - Shea Butter (Optional)
If your lips need extra love, shea butter is the way to go. It’s packed with vitamins A and E, which help repair and protect your skin. Especially useful for very dry or cracked lips. - Essential Oils (Optional)
These let you personalize everything: scent, sensation, and more. A few drops can give you a cooling effect, a calming feel, or even a slight plumping sensation. Some essential oils also help preserve the balm. - Vitamin E (Optional)
This is a natural antioxidant, which helps protect your skin from damage and supports lip healing. It also helps extend the lifespan of your balm by slowing down oil oxidation.
DIY lip balm recipe

Ingredients
- 10 g beeswax
- 20 g coconut oil
Optional:
- 5 g shea butter
- 1 vitamin E capsule (or 2 drops)
- 2–3 drops of essential oil
Tools
- A heat-safe bowl
- A small spoon for stirring and pouring
- Empty lip balm tubes or small containers
Instructions
1) Melt the beeswax and coconut oil in a double boiler over low heat, stirring gently. If you’re using shea butter, add it when the mixture is almost fully melted.

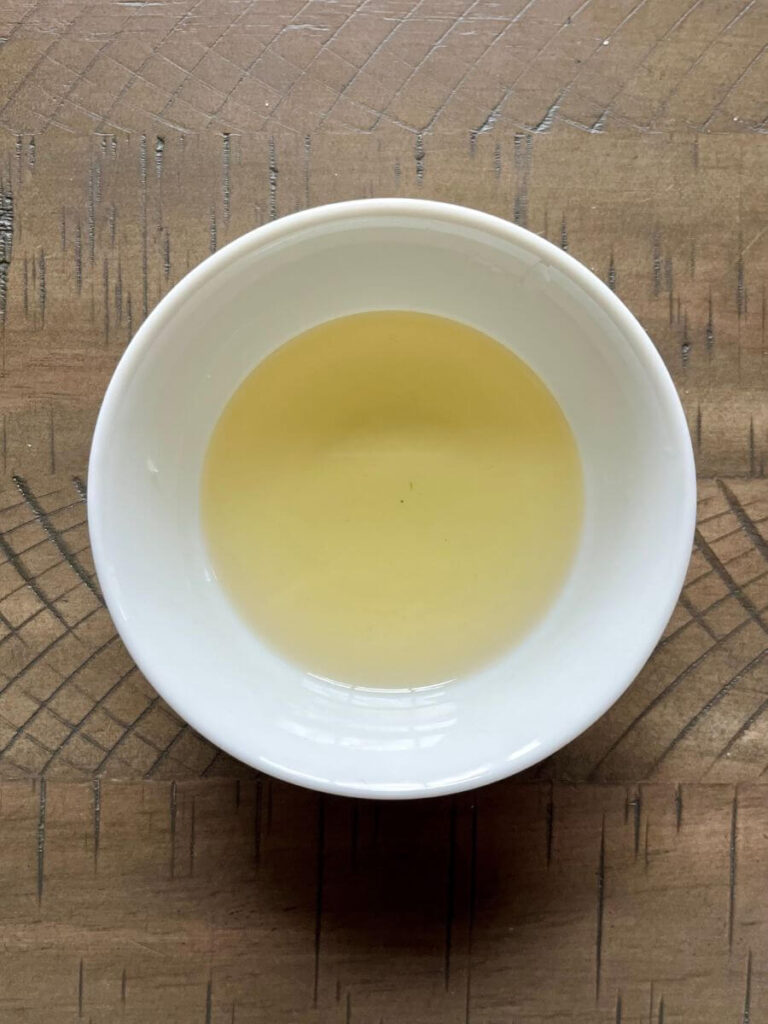
2) Once everything’s melted, remove from heat. When it cools a bit (ideally to around 104°F / 40°C or lower), add vitamin E and essential oil if you’re using them. Adding oils when it’s too hot can make them lose their beneficial properties.
3) Carefully pour the mixture into your containers using the spoon, and then let it cool completely before using.


Common mistakes to avoid
- Using too much beeswax: the balm will turn out too hard.
- Not melting the ingredients fully: results in a non-uniform texture.
- Adding essential oils while it’s too hot: they could evaporate or lose potency.
How to store your DIY lip balm
- Keep it in a cool, dry place.
- If it’s really hot, store it in the fridge so it doesn’t melt.
- Use it within 6 months to a year.
Best essential oils for lip balm
Here are my favorite essential oils to add, depending on the effect you want:
- Peppermint: for a refreshing, slightly plumping feel
- Lavender: calming and soothing, especially for sensitive lips
- Tea Tree: antibacterial, great for cracked lips
Heads up: Skip citrus essential oils (like lemon or bitter orange). They can make your lips more sensitive to sunlight.
Customizing the lip balm to your needs
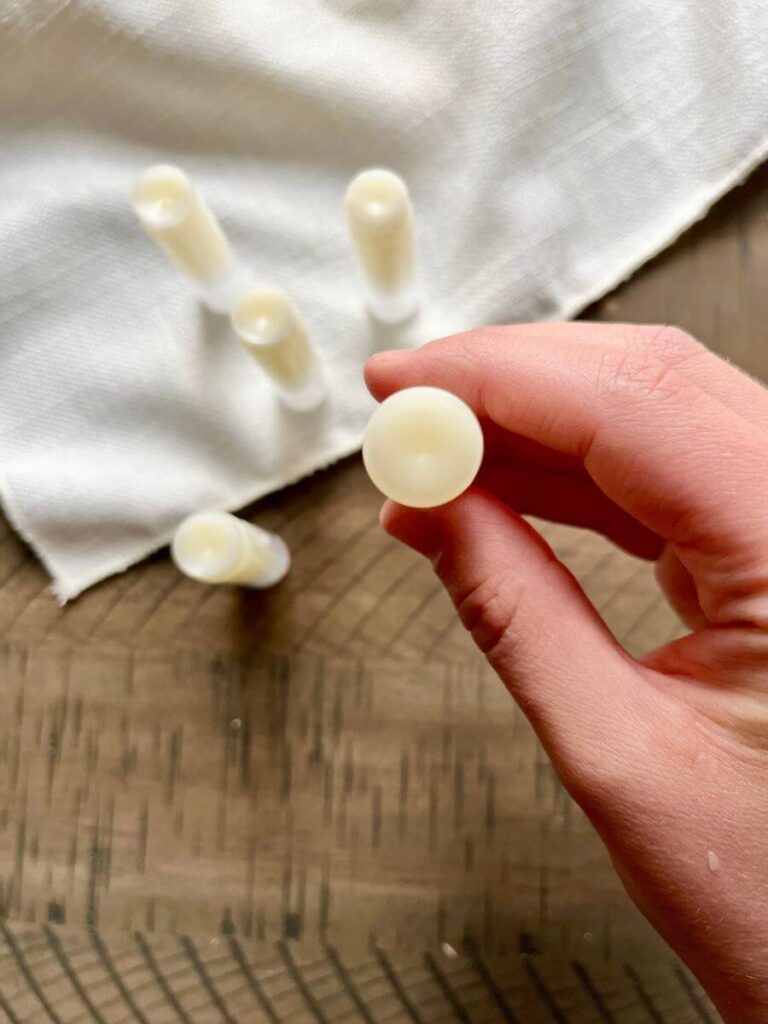
Everyone’s lips are different, so here are some ideas to tweak the recipe:
- Ultra-nourishing / dry lips: Add more shea butter, and include vitamin E.
- More solid balm (great for heat or cold weather): Increase the beeswax.
- Light & silky texture: Lower the beeswax, raise the coconut oil. It’ll absorb faster without feeling sticky.
- Winter formula: Richer and more protective. Add a drop of honey for extra soothing.
- Summer / warmer climate: Use less beeswax and a refreshing essential oil like peppermint.
Playing with proportions is the fun part, experimenting helps you find just what’s right for you.
Other uses for your DIY lip balm

This little balm can be a multitasker:
- Use it on your cuticles to keep them soft.
- Apply to dry patches on elbows or knees.
- Dab a little on your cheekbones for a natural glow.
- Use it on your eyebrows for gentle definition.
- In cold, windy weather, put it on areas like your nose or hands for a protective barrier.
It’s a small thing, but super flexible. Exactly what I love about DIY stuff!
FAQ
Can I add honey to the lip balm?
Yes! Honey is super hydrating and nourishing, especially in winter. But since it’s a liquid, it could make your balm softer, so make sure your base (beeswax, shea butter, coconut oil) is balanced so the balm still holds together.
Why is my balm too hard or too soft?
- Too hard? Try less beeswax or more oil.
- Too soft? Add a bit more beeswax.
Just tweak the ratios until you hit the right consistency.
Can I use fragrance oils instead of essential oils?
I wouldn’t recommend it. Synthetic fragrance oils often contain irritating chemicals. Pure essential oils have natural skin benefits on top of scent.
Conclusion
Making your own lip balm at home is such a smart move. It’s natural, budget-friendly, and totally customizable. With just a few ingredients, you’ve got a balm tailored to your lips. No more relying on commercial products full of unclear stuff.
So now that you’ve got the recipe … what are you waiting for? Give it a try! Have you ever made lip balm before? If so, what ingredients did you use? Drop a comment and tell me!